


Peanut Butter, Chocolate & Banana Sourdough Dessert Pizza
1
30 minutes
10 minutes
Shop the Recipe
Ingredients
-
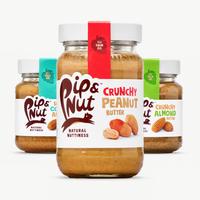
Pip & Nut Crunchy Peanut Butter (or any nut butter of choice)
- Sourdough Dough (makes 1 ball)
-
143g type 00 flour
-
88g water
-
4.5g salt
-
28.5g sourdough starter
- Yeast Dough (makes 2 balls)
-
295g flour
-
192g water
-
9g salt
-
0.5g dried yeast
- Toppings
-
Dark chocolate
-
Coconut milk
-
Banana (or fruit of choice)
Method
Mix all dough ingredients together until no dry bits remain. Knead in a stand mixer on low for 10 minutes. Rest for 10 minutes. Repeat until the dough passes the window pane test.
Cover and leave for 5 hours at room temperature. Place in the fridge for up to 4 days.
When ready, take the dough out of the fridge and split into balls. Cover and prove for 2-3 hours.
Preheat oven as hot as it will go.
Stretch the dough into a pizza shape. Spread generously with peanut butter.
Melt the dark chocolate with a splash of coconut milk to make a drizzle. Add banana slices and drizzle over the chocolate.
Bake until the crust is golden and crisp.
A yeast version is also included if you don't have a sourdough starter.


